Pop A Plug Installation
Products
- Fittings
- Instrumentation Valves
- Manifold Valves
- Double Block And Bleed Valves
- Industrial Valves
- Quick Release Couplings
- Air Headers
- Condensate Pots
- Flanges
- Flange To Tube Adaptors
- Thermowells
- Fastners
- Pipe Clamps
- Flush Rings
- Hose Fittings
- Heat Exchanger Tube Plugs
- Heat Exchanger Ferrule Inserts
- Vent Plugs
- Header Unf Plugs
- Grease Fittings
- Pipes And Tubes
- Coils, Sheets & Plates
- Angle, Channels & Bars
- Tube Sheets
- Heavy Machined Components
-
Cleaning
-
Cleaning
-
Installation
-
Installation
-
Installation
Pop A Plug Installation
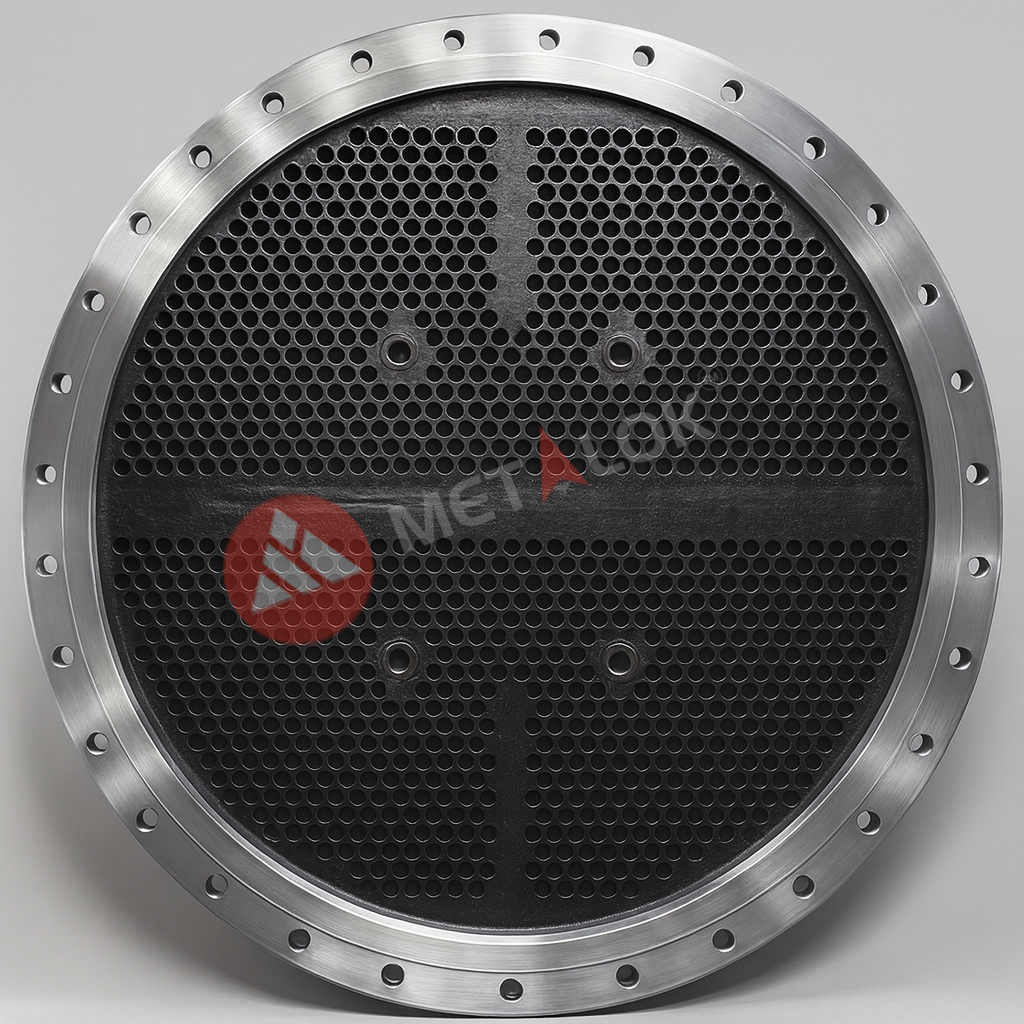
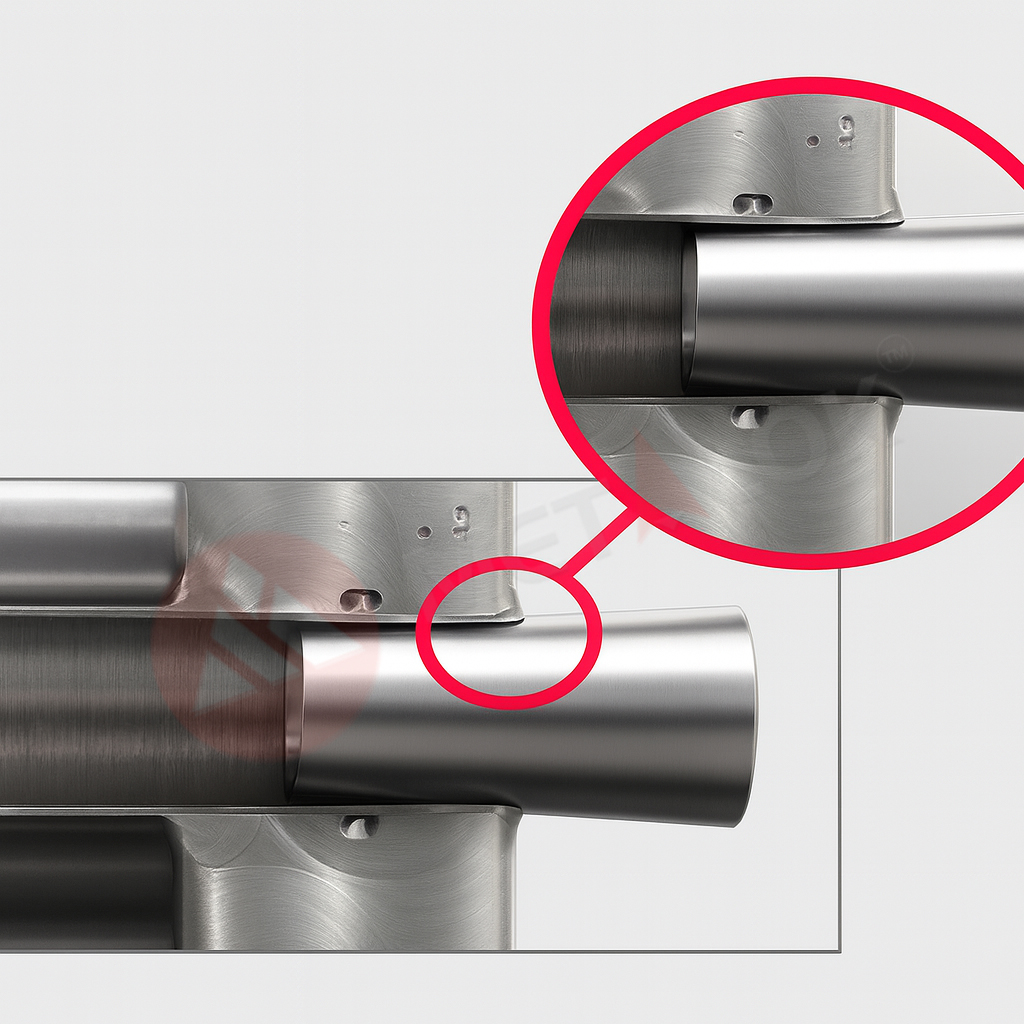
Pop-A-Plug systems offer a safe, effective, and highly reliable solution for sealing heat exchanger tube and tube sheet leaks. These mechanical fit plugs are engineered to withstand extreme thermal cycling and provide a helium-tight seal, ensuring long-term performance and system integrity.
Metalok Industries employs certified and experienced technicians equipped with specialized tools and precision instruments to perform Pop-A-Plug installation and removal with utmost accuracy and safety. Our team follows strict technical standards to guarantee leak-free, permanent sealing without damaging the tube or tube sheet.
It is crucial that installation and removal of Pop-A-Plugs be carried out only by qualified Metalok technicians with proper certification and training. This ensures full compliance with safety protocols and reliable performance under both low-pressure conditions (up to 68.9 BarG) and high-pressure applications (up to 483 BarG) in heat exchangers and condensers.
- Ensure the heat exchanger is fully depressurized, isolated, and drained before beginning work.
- Confirm all safety permits are approved and wear proper PPE (helmet, gloves, face shield, etc.).
- Identify and mark all leaking or damaged tubes requiring plug installation.
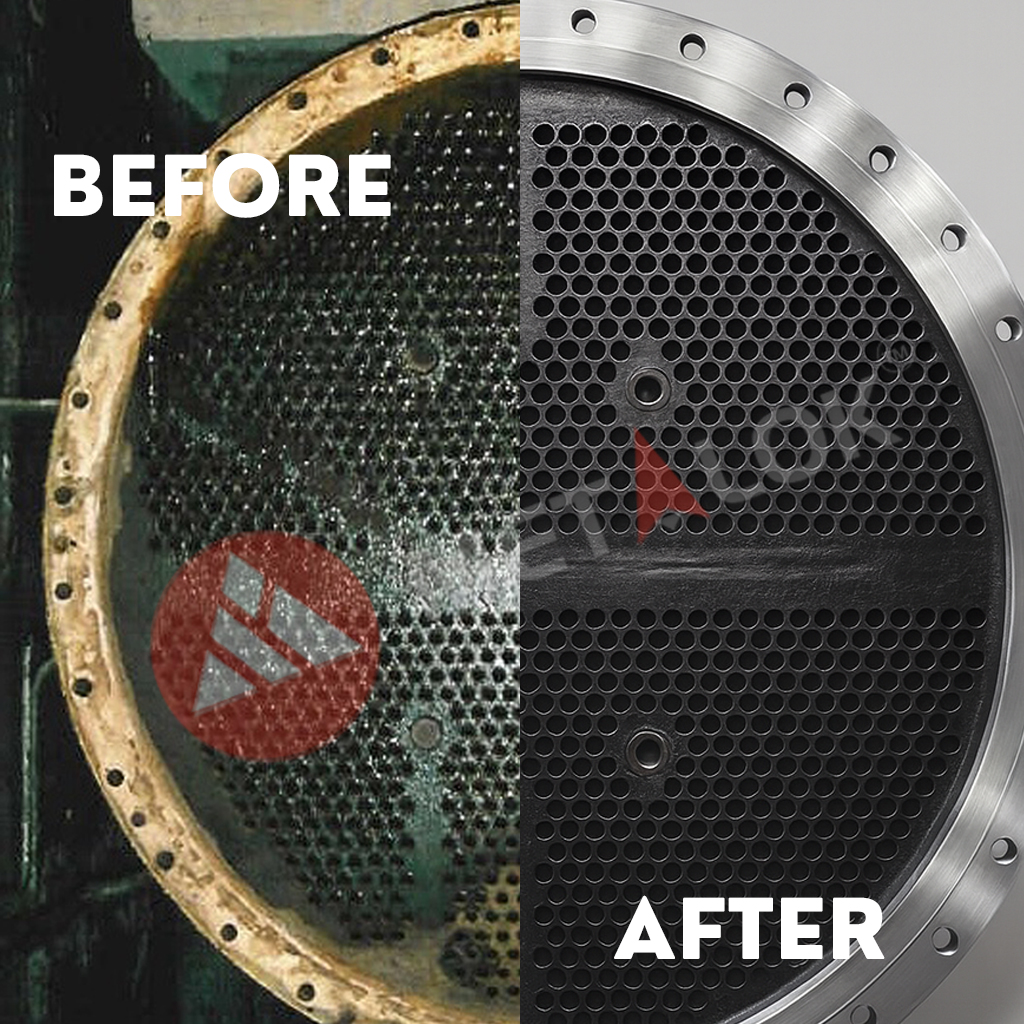
- Clean the tube ID thoroughly using a wire brush or abrasive tool to remove any corrosion or debris.
- Inspect the tube and tube sheet for damage, ovality, or pitting before proceeding.
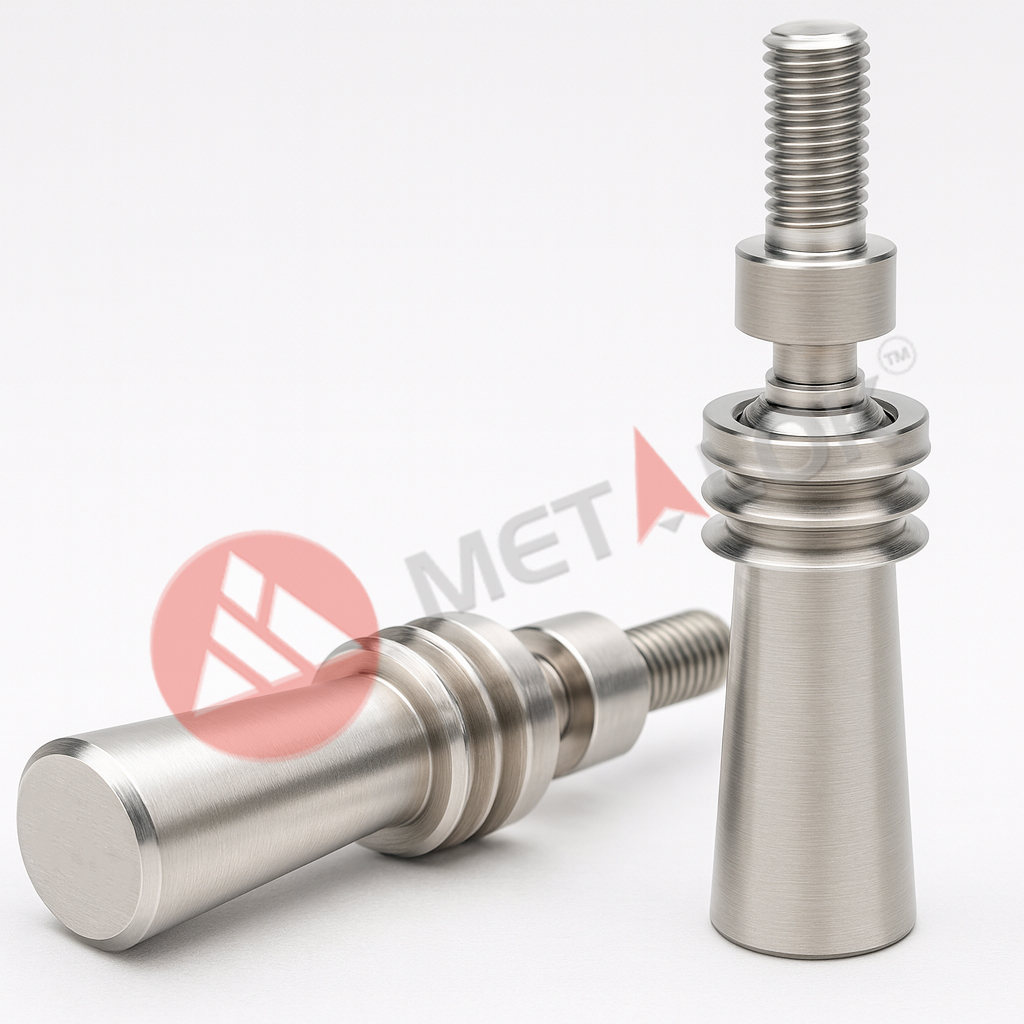
- Select the correct Pop-A-Plug size and material compatible with the tube’s inner diameter and service conditions.
- Assemble the Pop-A-Plug installation tool as per manufacturer instructions, ensuring all components are clean and properly aligned.
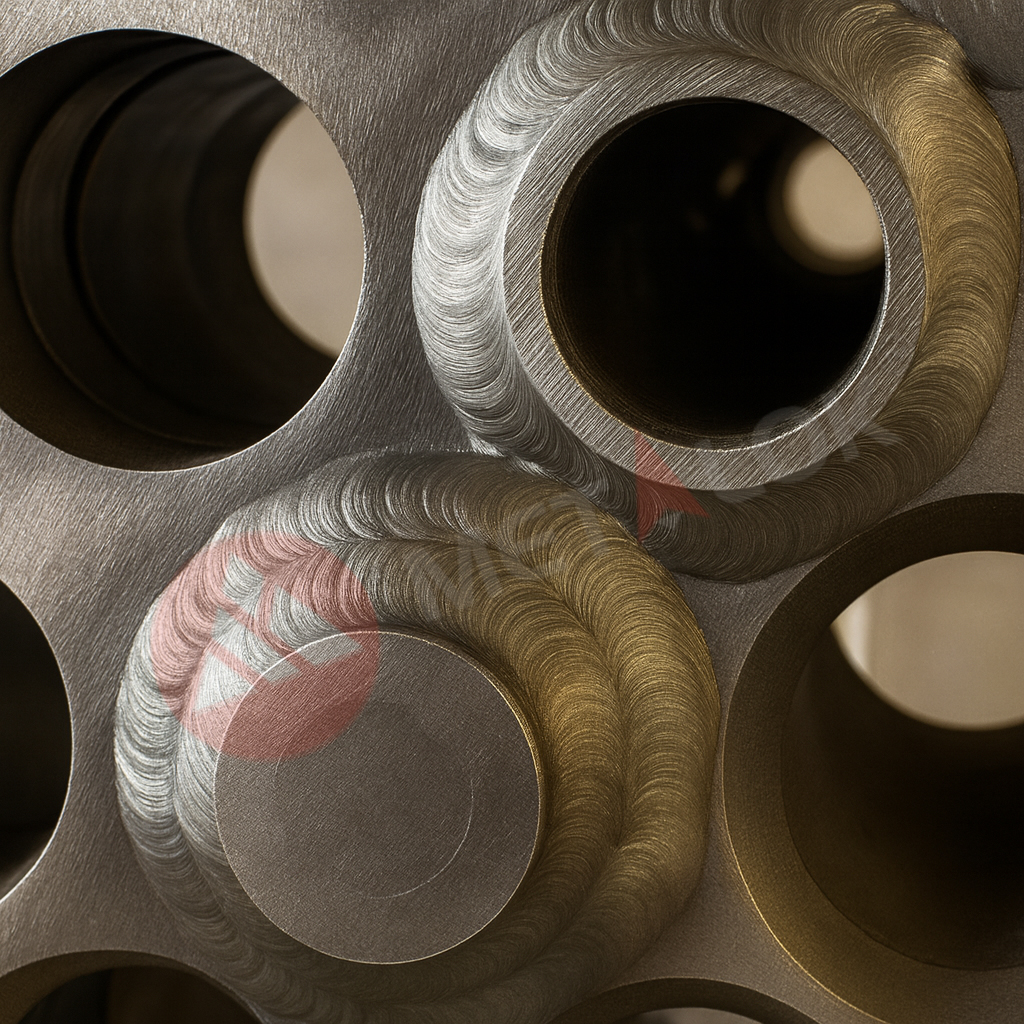
- Insert the Pop-A-Plug assembly into the tube and activate the tool to expand the plug, creating a tight, leak-proof mechanical seal.
- Remove the installation tool carefully and verify the plug is properly seated and flush with the tube sheet.
- Perform a pressure or helium leak test to confirm a proper seal, then document plug locations and test results.